How to use DRV8833 Dual Motor Driver Module with Arduino?
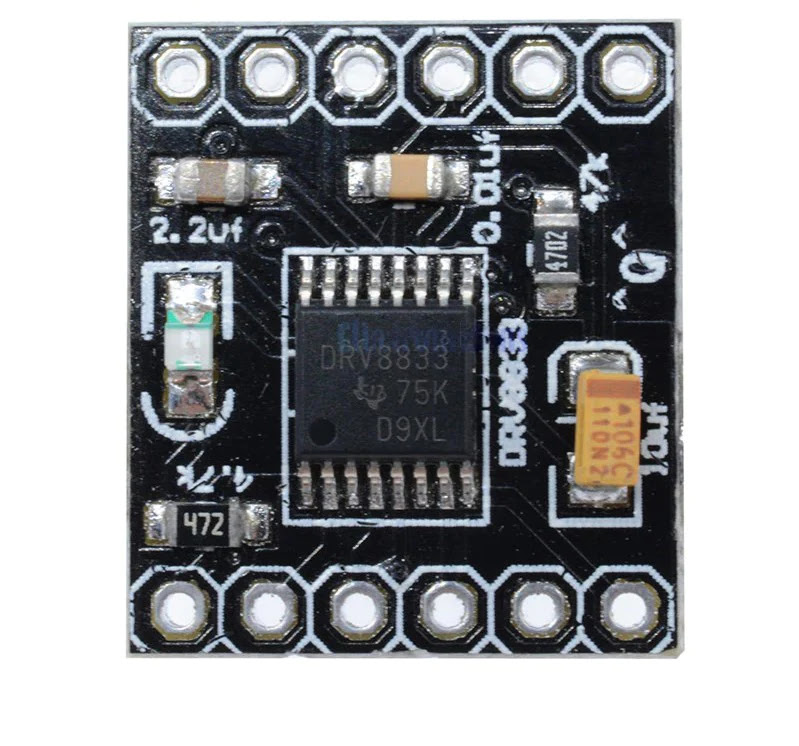
The DRV8833 dual motor driver module is a useful device for controlling the speed and direction of two DC motors with an Arduino microcontroller. This module is a small but powerful device that can drive motors with up to 1.2A current per channel. It can also operate at a wide range of voltages, making it ideal for a wide range of applications. In this article, we will discuss how to use the DRV8833 dual motor driver module with an Arduino.
Hardware setup
The DRV8833 dual motor driver module can be connected to the Arduino using the following pin connections:
- IN1 pin of the DRV8833 module to digital pin 9 of the Arduino
- IN2 pin of the DRV8833 module to digital pin 10 of the Arduino
- IN3 pin of the DRV8833 module to digital pin 11 of the Arduino
- IN4 pin of the DRV8833 module to digital pin 12 of the Arduino
- GND pin of the DRV8833 module to GND pin of the Arduino
- VCC pin of the DRV8833 module to 5V pin of the Arduino
Once the DRV8833 module is connected to the Arduino, you can connect the two DC motors to the module’s output terminals. The motor connections are as follows:
- Motor 1: Connect the positive terminal of the motor to OUT1 pin of the DRV8833 module and the negative terminal to OUT2 pin of the module
- Motor 2: Connect the positive terminal of the motor to OUT3 pin of the DRV8833 module and the negative terminal to OUT4 pin of the module.
Programming the Arduino
The next step is to program the Arduino to control the motors. The following code shows how to control the speed and direction of the two motors using the DRV8833 module.
//Define the motor control pins int in1 = 9; int in2 = 10; int in3 = 11; int in4 = 12; void setup() { //Set the motor control pins as outputs pinMode(in1, OUTPUT); pinMode(in2, OUTPUT); pinMode(in3, OUTPUT); pinMode(in4, OUTPUT); } void loop() { //Motor 1 forward digitalWrite(in1, HIGH); digitalWrite(in2, LOW); //Motor 2 forward digitalWrite(in3, HIGH); digitalWrite(in4, LOW); //Set the motor speed analogWrite(in1, 100); analogWrite(in3, 100); //Wait for 2 seconds delay(2000); //Motor 1 reverse digitalWrite(in1, LOW); digitalWrite(in2, HIGH); //Motor 2 reverse digitalWrite(in3, LOW); digitalWrite(in4, HIGH); //Set the motor speed analogWrite(in1, 150); analogWrite(in3, 150); //Wait for 2 seconds delay(2000); }The code first defines the motor control pins and sets them as outputs in the setup function. The loop function then controls the motors by setting the direction and speed of each motor and then waiting for two seconds before reversing the direction of the motors.
If you are interested in building robots then it is certain that you need to learn how to control the speed and direction of a DC motor. DRV8833 Dual Motor Driver Module with Arduino


Comments
Post a Comment